Ratings & Reviews performance provides an overview of what users think of your app. Here are the key metrics to help you identify how your app is rated by users and how successful is your review management strategy.
User reviews affect conversion to installs and app rating. Featured and helpful reviews are the first to be noticed by users and in case of no response can affect download rate.
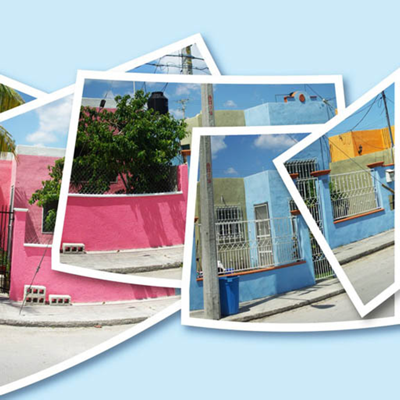
The AutoStitchPic app combines several photographs into one continuous image. For example, you can take 3-30 overlapping photographs of a city skyline, and then merge them into a panorama. This app can assemble photos that are tiled horizontally as well as vertically, and multi rows photos supported. Learn how to make a good panorama photo: Setting up for your shoot, a stable position to take your panoramas from is important. Once you find your potential spot and set your iPhone camera up, rotate it to the extreme right and left edges that you want to include in your photo and make sure that there isn’t anything that is too big of a visual or physical obstruction. Something else to keep in mind is to try to set up so that the full range of your shot does not show shadows from you or your iPhone. When you have the settings you want and have taken your extreme left pictures it is time to grab a reference point in the viewfinder about 20%-30% away from the right side of your viewfinder. You do this because you are going to swivel the camera so that this reference point is at the far left but still in the viewfinder so that there is some overlap between your photos. As far as overlap is concerned, you are shooting digitally so snap away, overlap 30-50% if you want, but err on the side of overlapping too much. If you don’t overlap enough, as AutoStitchPic app attempts to blend the shots it will not have enough of a fingerprint to blend well. Now simply repeat this process until you come to the extreme right end of your desired panoramic shot: 1. Choose a reference point about 20-30% away from the right edge of the viewfinder 2. Swivel the camera to the right until your reference point is at the left edge of the viewfinder 3. Take the picture 4. Repeat until you have taken photos that cover the entire area you wish to capture in your panorama Make your panorama: Now you are ready to ‘stitch’ your photos together. Please open each photo that you wish to add to the panorama in AutoStitchPic app. Click OK button. Now AutoStitchPic app goes into action. It analyzes and blends the photos. This could take several minutes. Go ahead and save your picture and you have a panorama! Features: Blend Images Together: to have AutoStitchPic attempt to seamlessly blend exposure and color. Vignette Removal: to correct for any natural lens vignetting (darkening) at the edges. Geometric Distortion Correction: to repair any lens distortion (often caused when shooting at a wider angle). Note: Overlap the images – the images should overlap by at least 40%, but no more than 70%. Outside of this range, Photomerge may not be able to align the files correctly. Shoot vertical – this is a little counter-intuitive since we’re making panoramas. It’s usually best to shoot vertical (portrait orientation). Since you’ll merge multiple frames together later to get as wide as you need, shooting vertical will give you a taller overall panorama. Also, you’ll need some of this vertical space for cropping. More on cropping later. Upload to Social Network With iOS, you can connect directly to your social network accounts, allowing you to post and share content from nearly anywhere. iOS provides integrated support for: ▪Twitter ▪Facebook ▪Flickr ▪Vimeo ▪Sina Weibo ▪Tencent Weibo ▪Blush and Mascara You can add your account in Settings, after adding your account, you can configure additional settings or download the official iOS app for that service.


